
Last summer, I attended a course at the Rare Book School entitled Material Foundations of Map History, 1450-1900. Taught by distinguished map scholar Matthew Edney, the course explored the materiality of maps in all their forms. I found the course fascinating, educational, and stimulating; since attending, I’ve been inspired to delve deeper into the physical and material aspects of maps as objects, and to improve my understanding of common – and less-common – methods of map printing and production. Fortunately, I couldn’t ask for a better vantage point to explore the history of mapmaking than the stacks and reading room of the Geography and Map Division. In this new series, Fabricating the World, I’ll examine different methods of creating cartographic objects. The first post will look at copperplate printing, a method which produced a large portion of the Geography and Map Division collections.
According to Five centuries of map printing, edited by David Woodward, copperplate printing “became the preferred method for printing maps” in the late 16th century. Printing with copper plates came with several advantages. Copper plates were more durable than woodblocks (which had been standard), lasted longer, and could be used to produce more copies of a given map before wear and tear on the plate rendered them unreadable. Details engraved or etched in copper could be finer than those carved into woodblocks, and the plates themselves could be larger. The trade-off of this new method was that copper plates couldn’t be easily used as illustrations in books, as the letterpress printing used for text required the image to be raised above the plate surface, rather than incised into the plate. As a result, maps were sometimes printed separately and bound into books as fold-outs; an example of this can be seen in the top image in our previous blog post Reading between the Gridlines. By the late 19th century, copperplate printing was largely eclipsed by lithography, an even more durable and flexible printing method.
The Geography and Map Division holds several examples of copperplates used for map printing. Most of them are large, heavy, and very shiny, making them hard to photograph. Along with other objects in our collection, such as woodblocks and cerographic plates, they help document the history of mapmaking and printing.
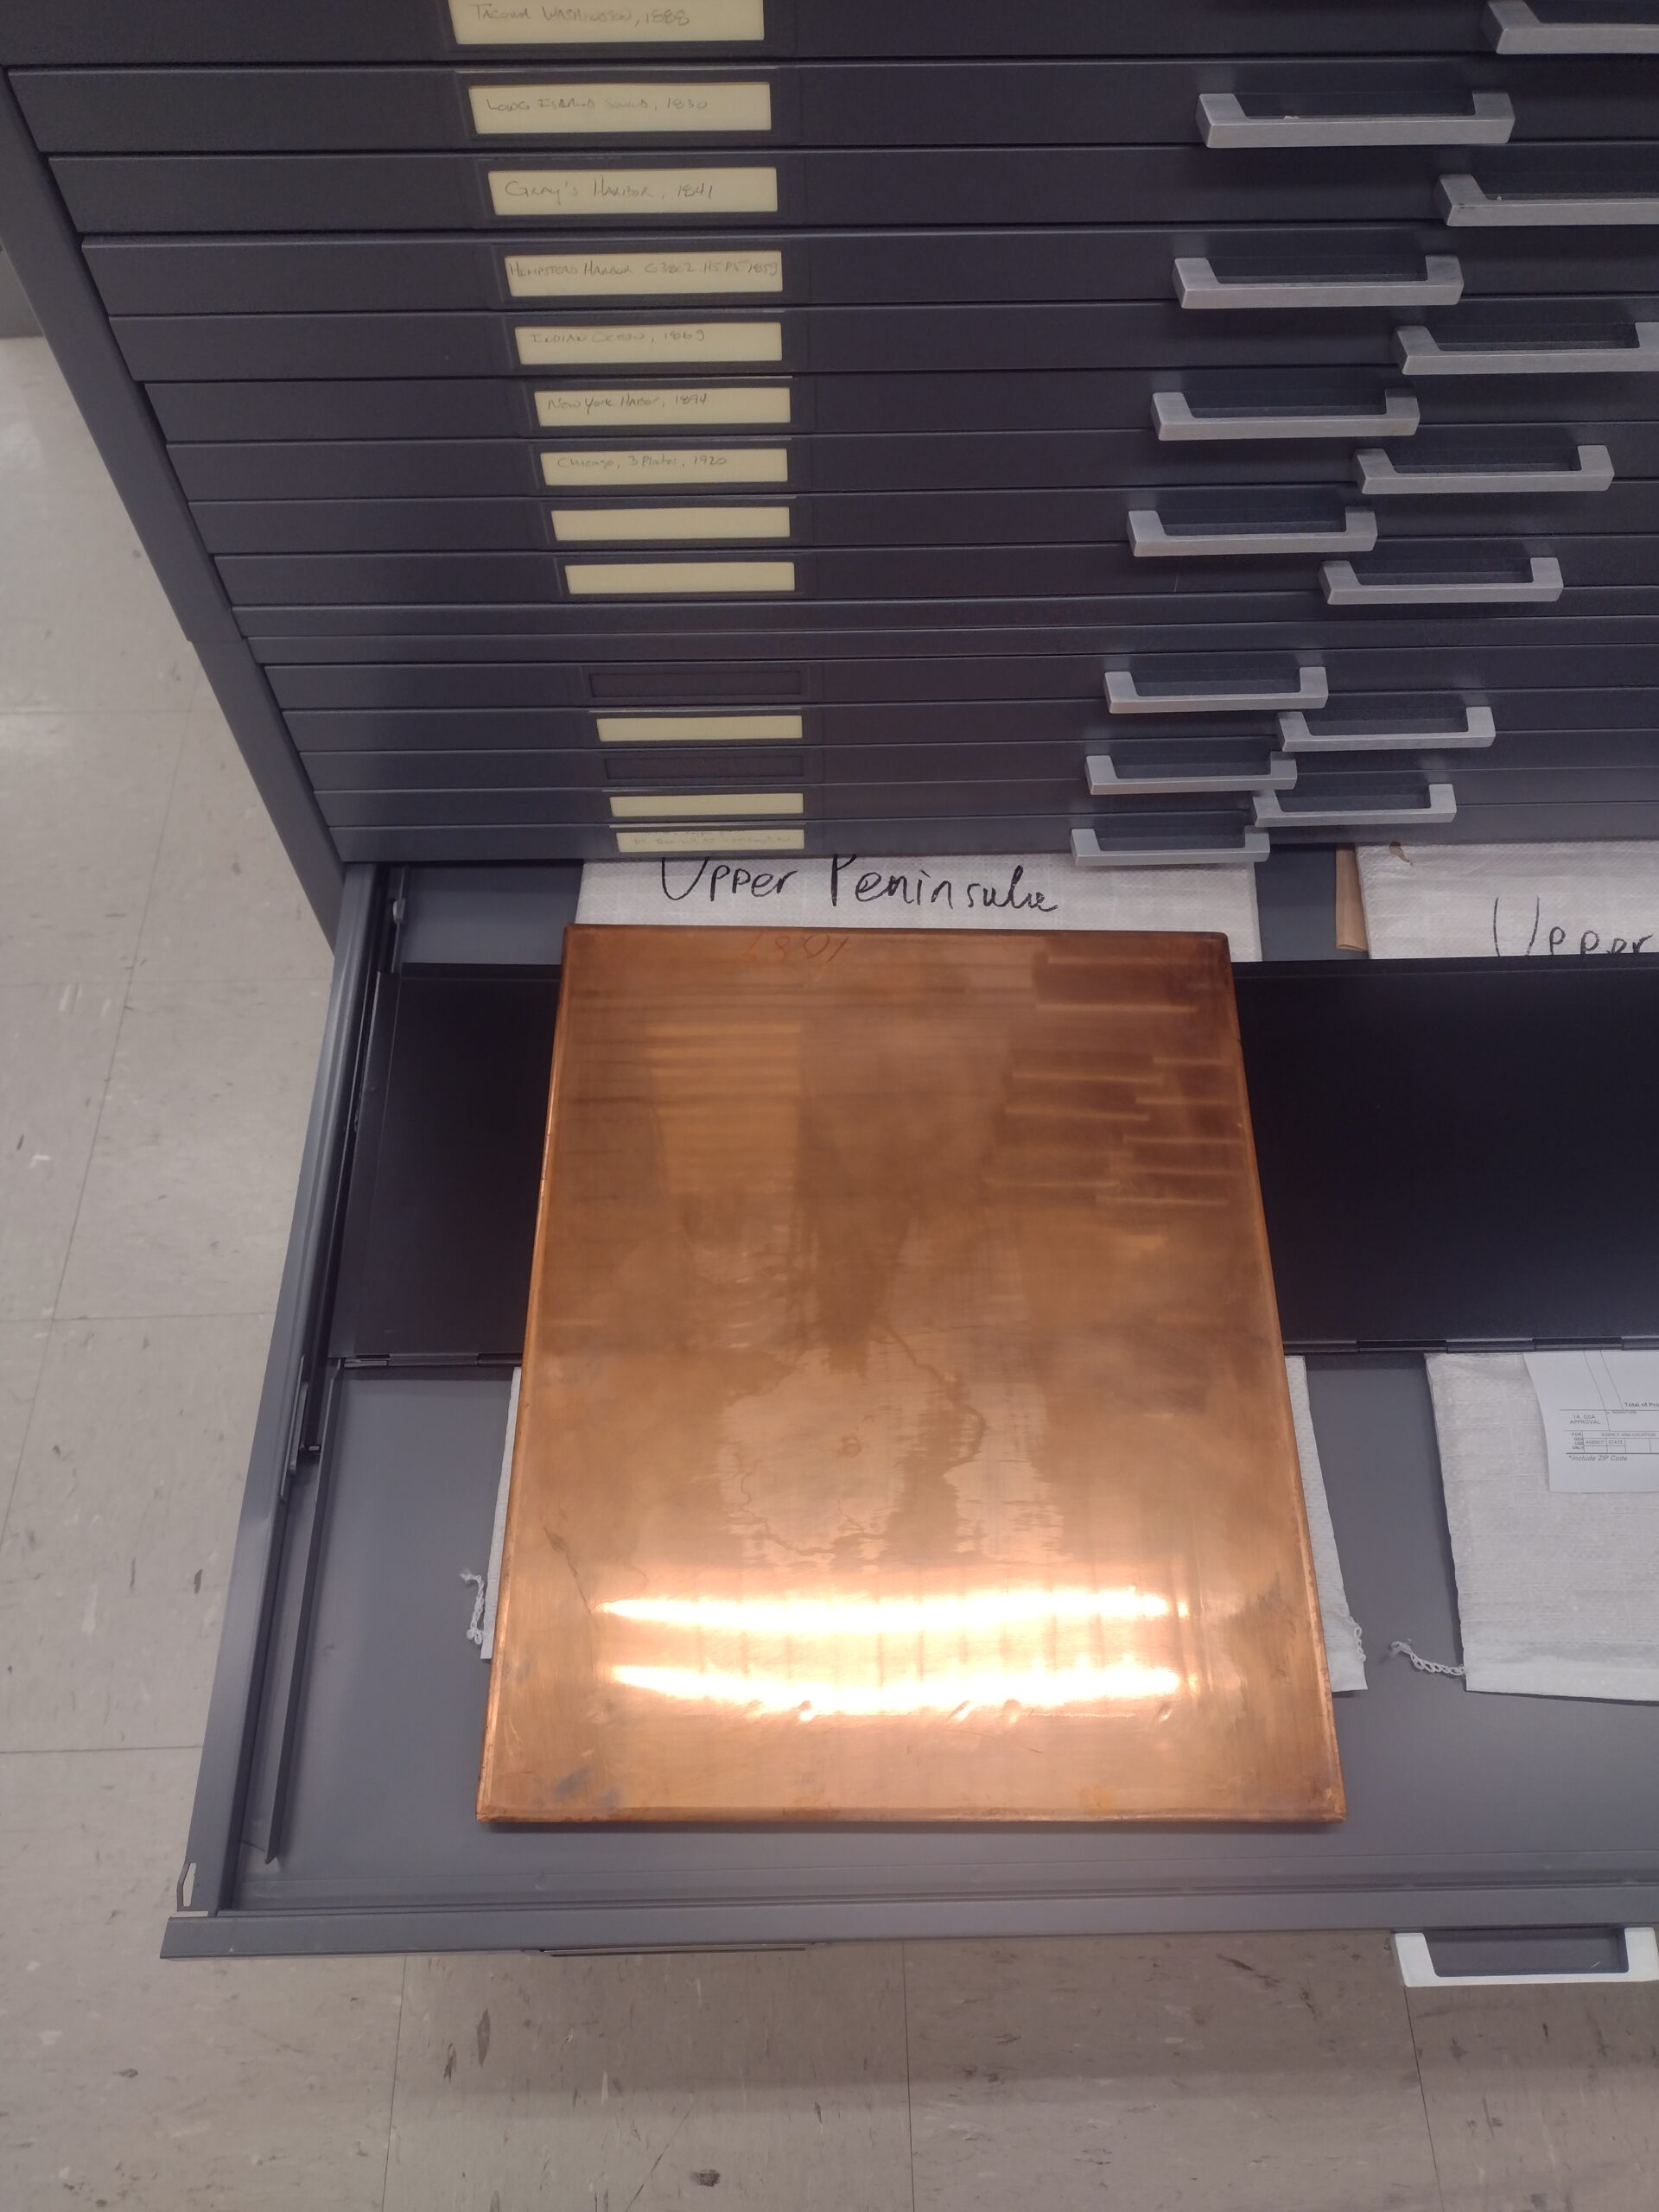
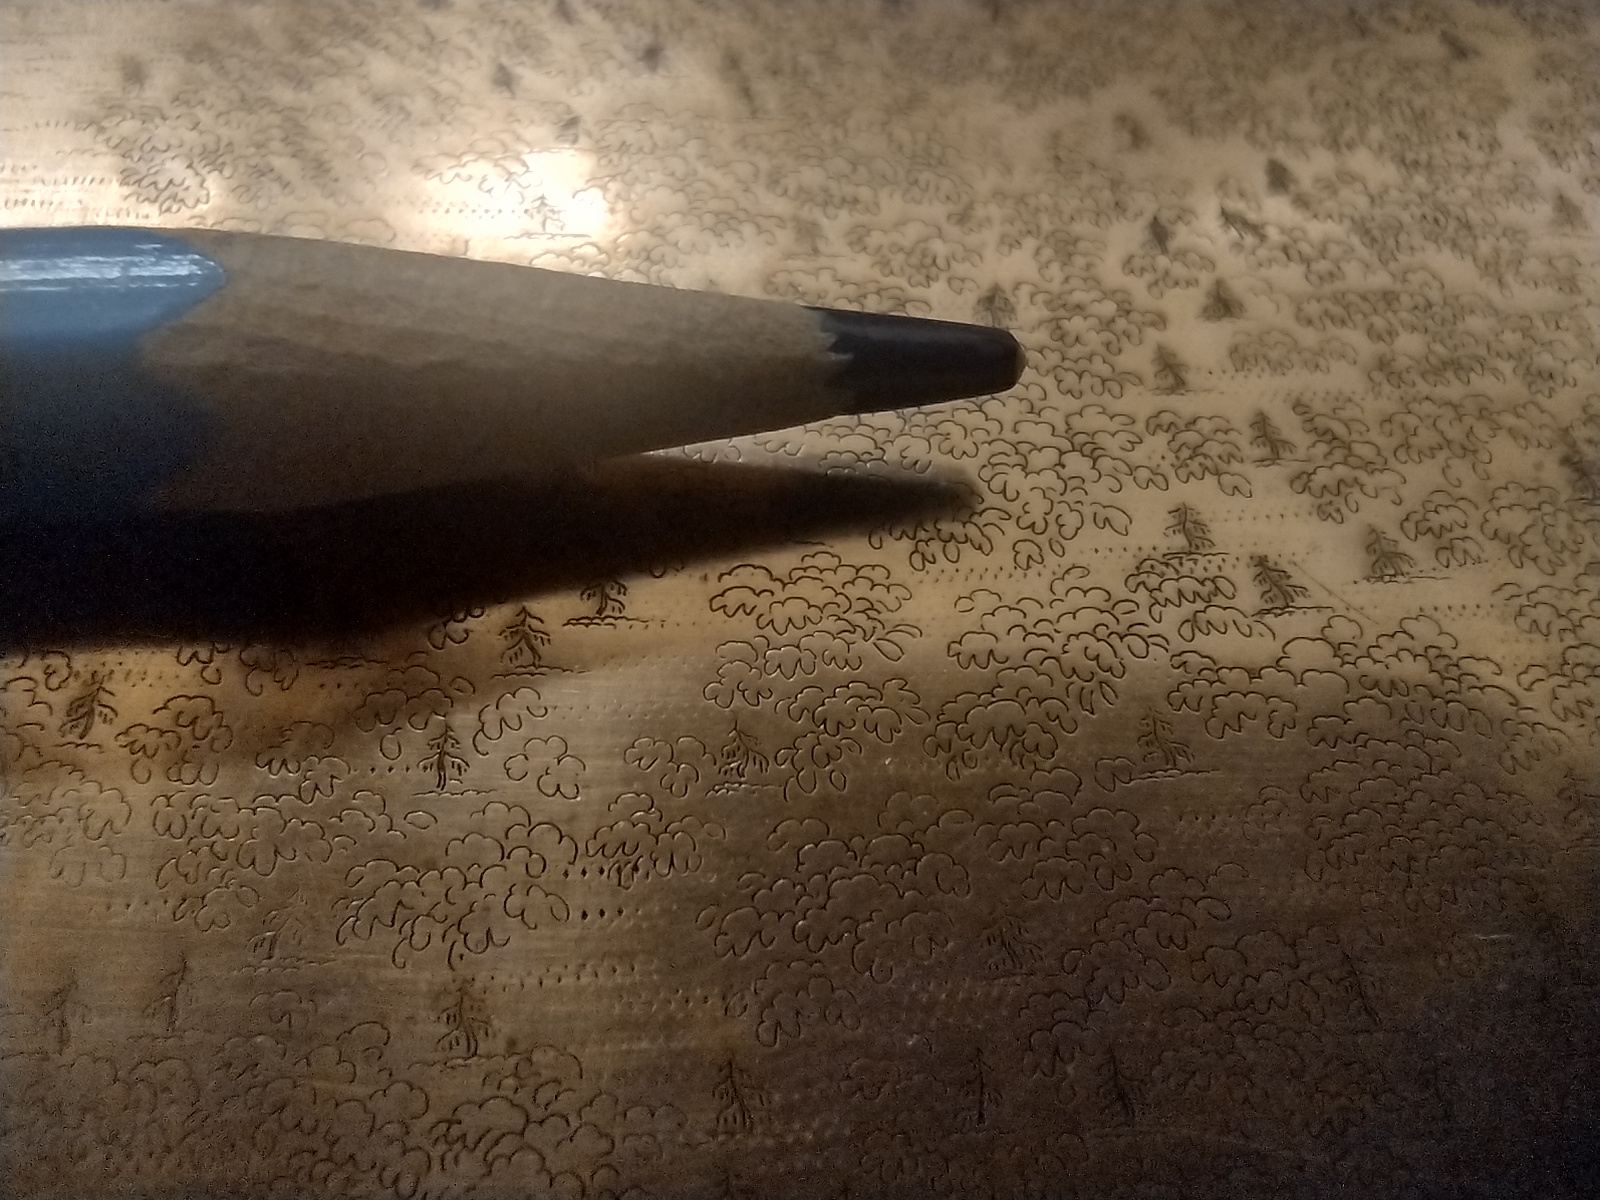
How does copperplate printing work? The first step is to engrave (or less commonly, etch) a thin sheet of copper. Copperplate printing is a type of intaglio, where the image is incised into the plate; this differs from relief printing, where the area around the image is cut away. Metal tools were used to carve lines into the copper to produce everything from coastlines to trees to textual labels. Engravers were highly skilled. This example from G&M’s collections, with pencil point for scale, shows how finely detailed engraved copper plates could be.
In order to produce a readable, accurate image, everything had to be inscribed in reverse, as a mirror-image. In some cases, metal punches could be used for repeated symbols, such as the circles indicating towns.

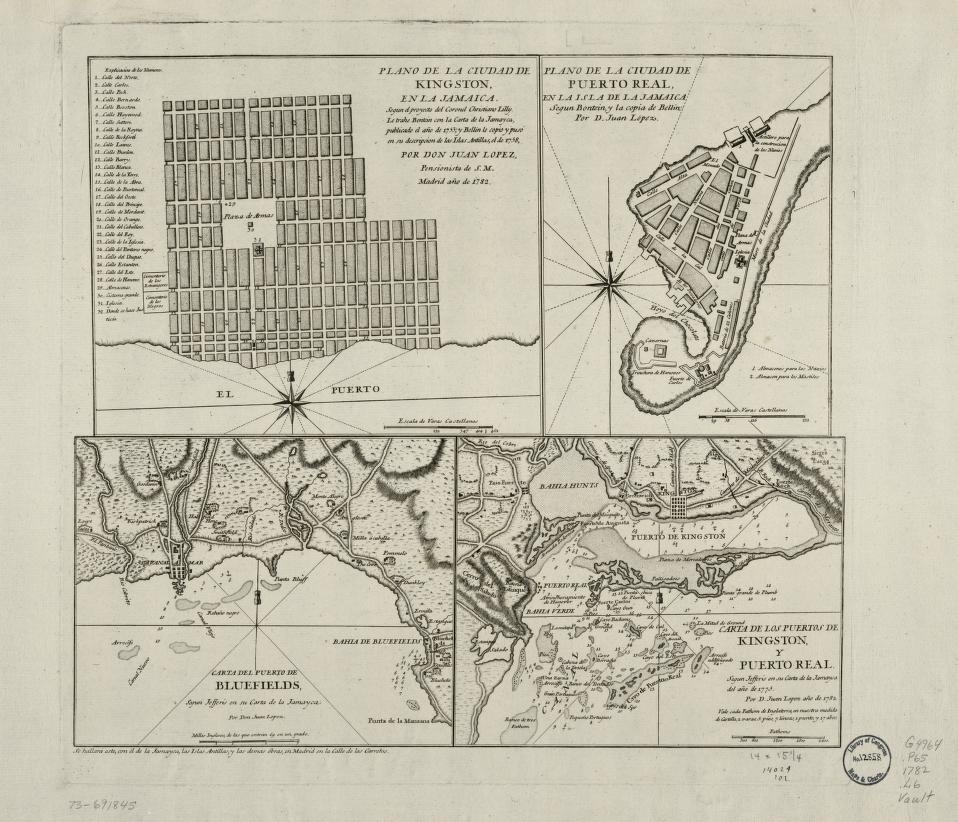
Once the copper plate was prepared, ink was applied, and had to be pressed into each tiny groove. Excess ink was then wiped off, leaving the plate surface clean but the grooves still filled with ink. A sheet of paper was then placed on top of the plate and the whole thing was put through a rolling press. The rolling press pushed the paper into the inked grooves in the plate, transferring the ink to the paper. This process resulted in a plate mark around the edge of the image, which can clearly be seen in this example:
This process is repeated for each impression. Subtle differences in the ink application, and wear on the plate over time, could cause lines to appear darker or lighter in different impressions of the same map. Sometimes changes were made to the copper plate between impressions, creating different states of a given map.
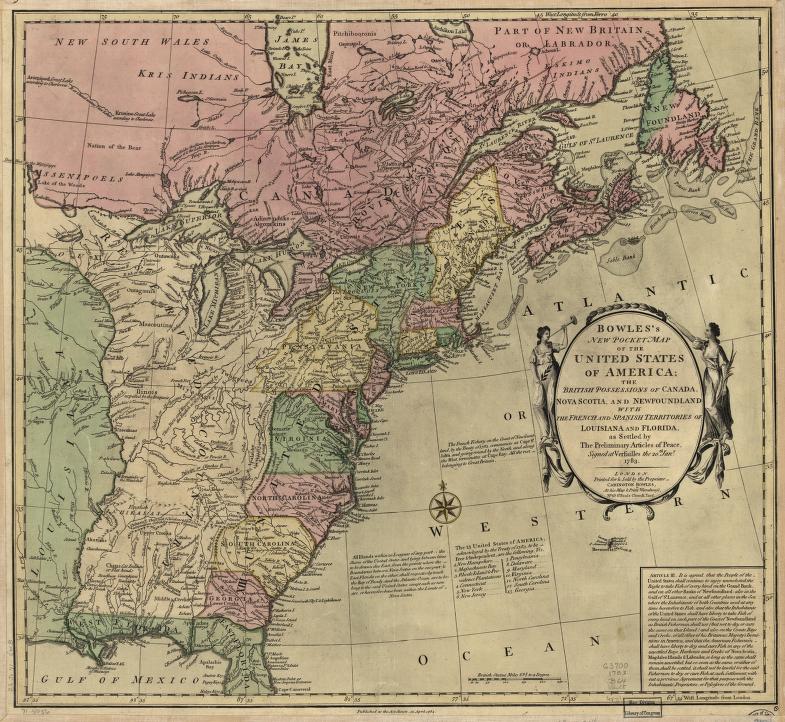
Copperplate printing doesn’t allow for large blocks of color, so color was typically added by hand, if at all. We have digitized three versions of this map, each of which was hand-colored in different color combinations, possibly by different people at different times (see copy 2 and copy 3 on our website).
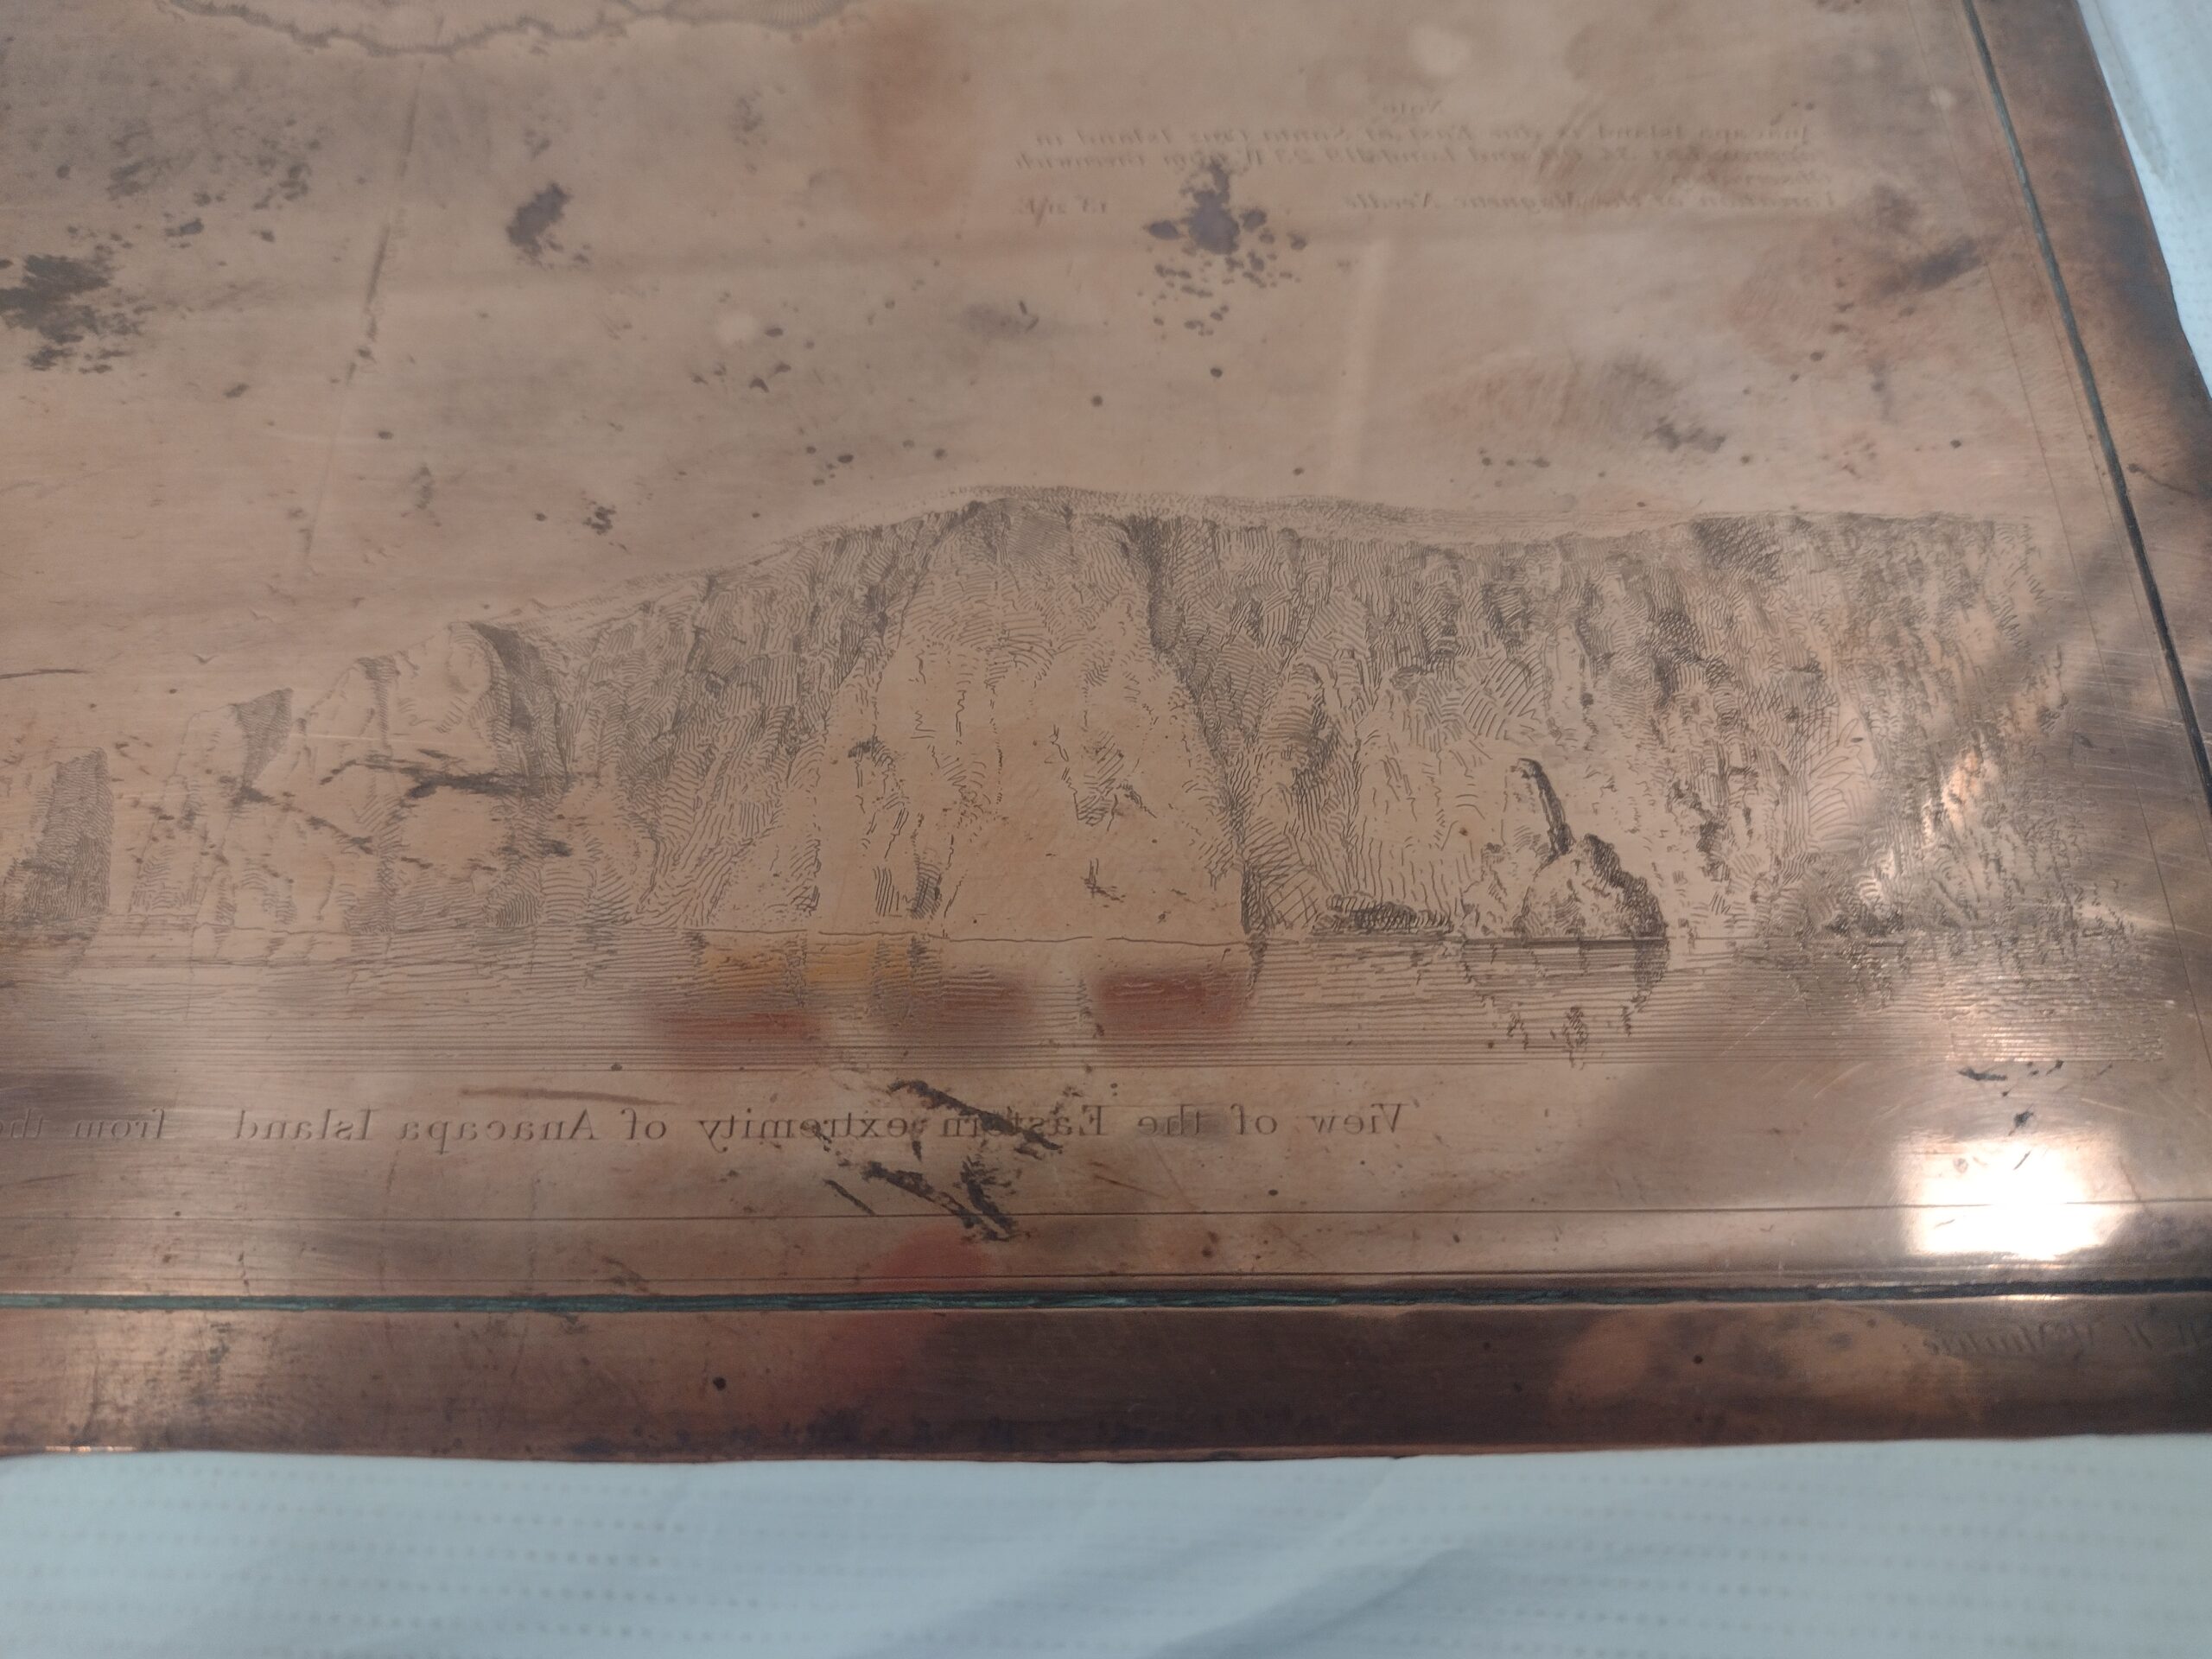
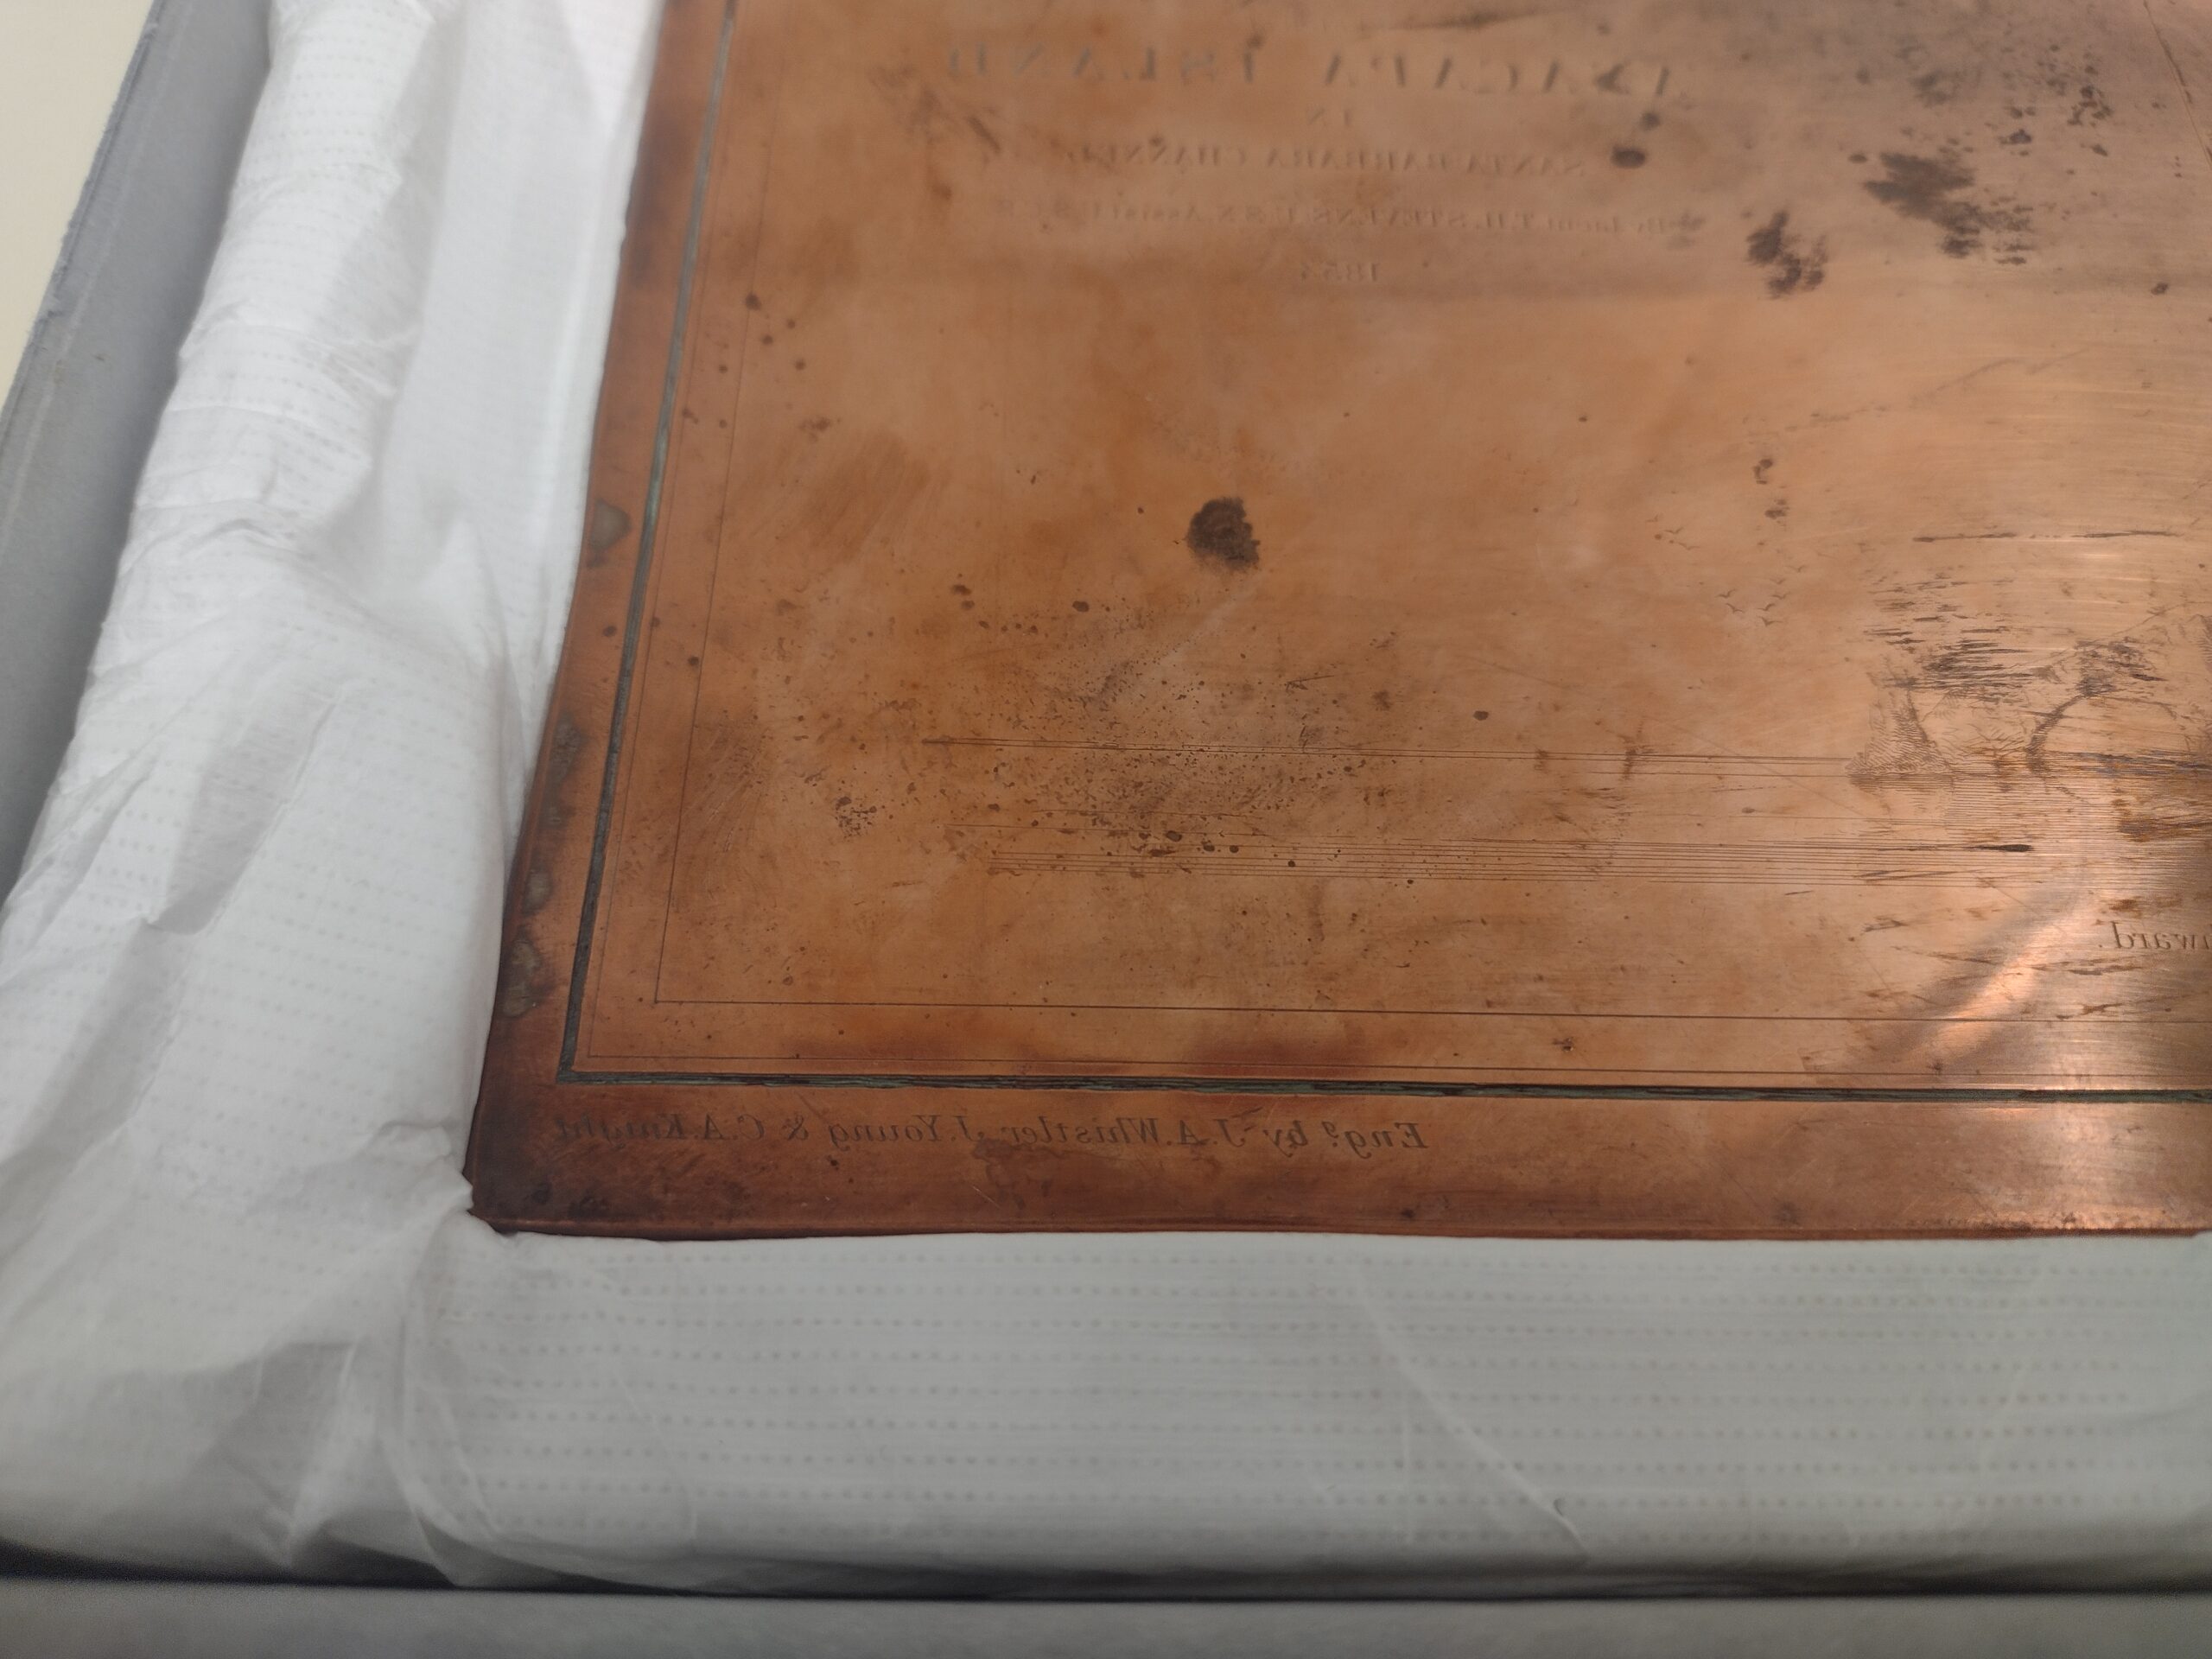
This small copper plate was used to produce a map and view of Anacapa Island in the Santa Barbara Channel, California. A close inspection of the plate reveals the names of the engravers in the lower left corner: J. A. Whistler, J. Young, and C. A. Knight, all employees of the U.S. Coast Survey.
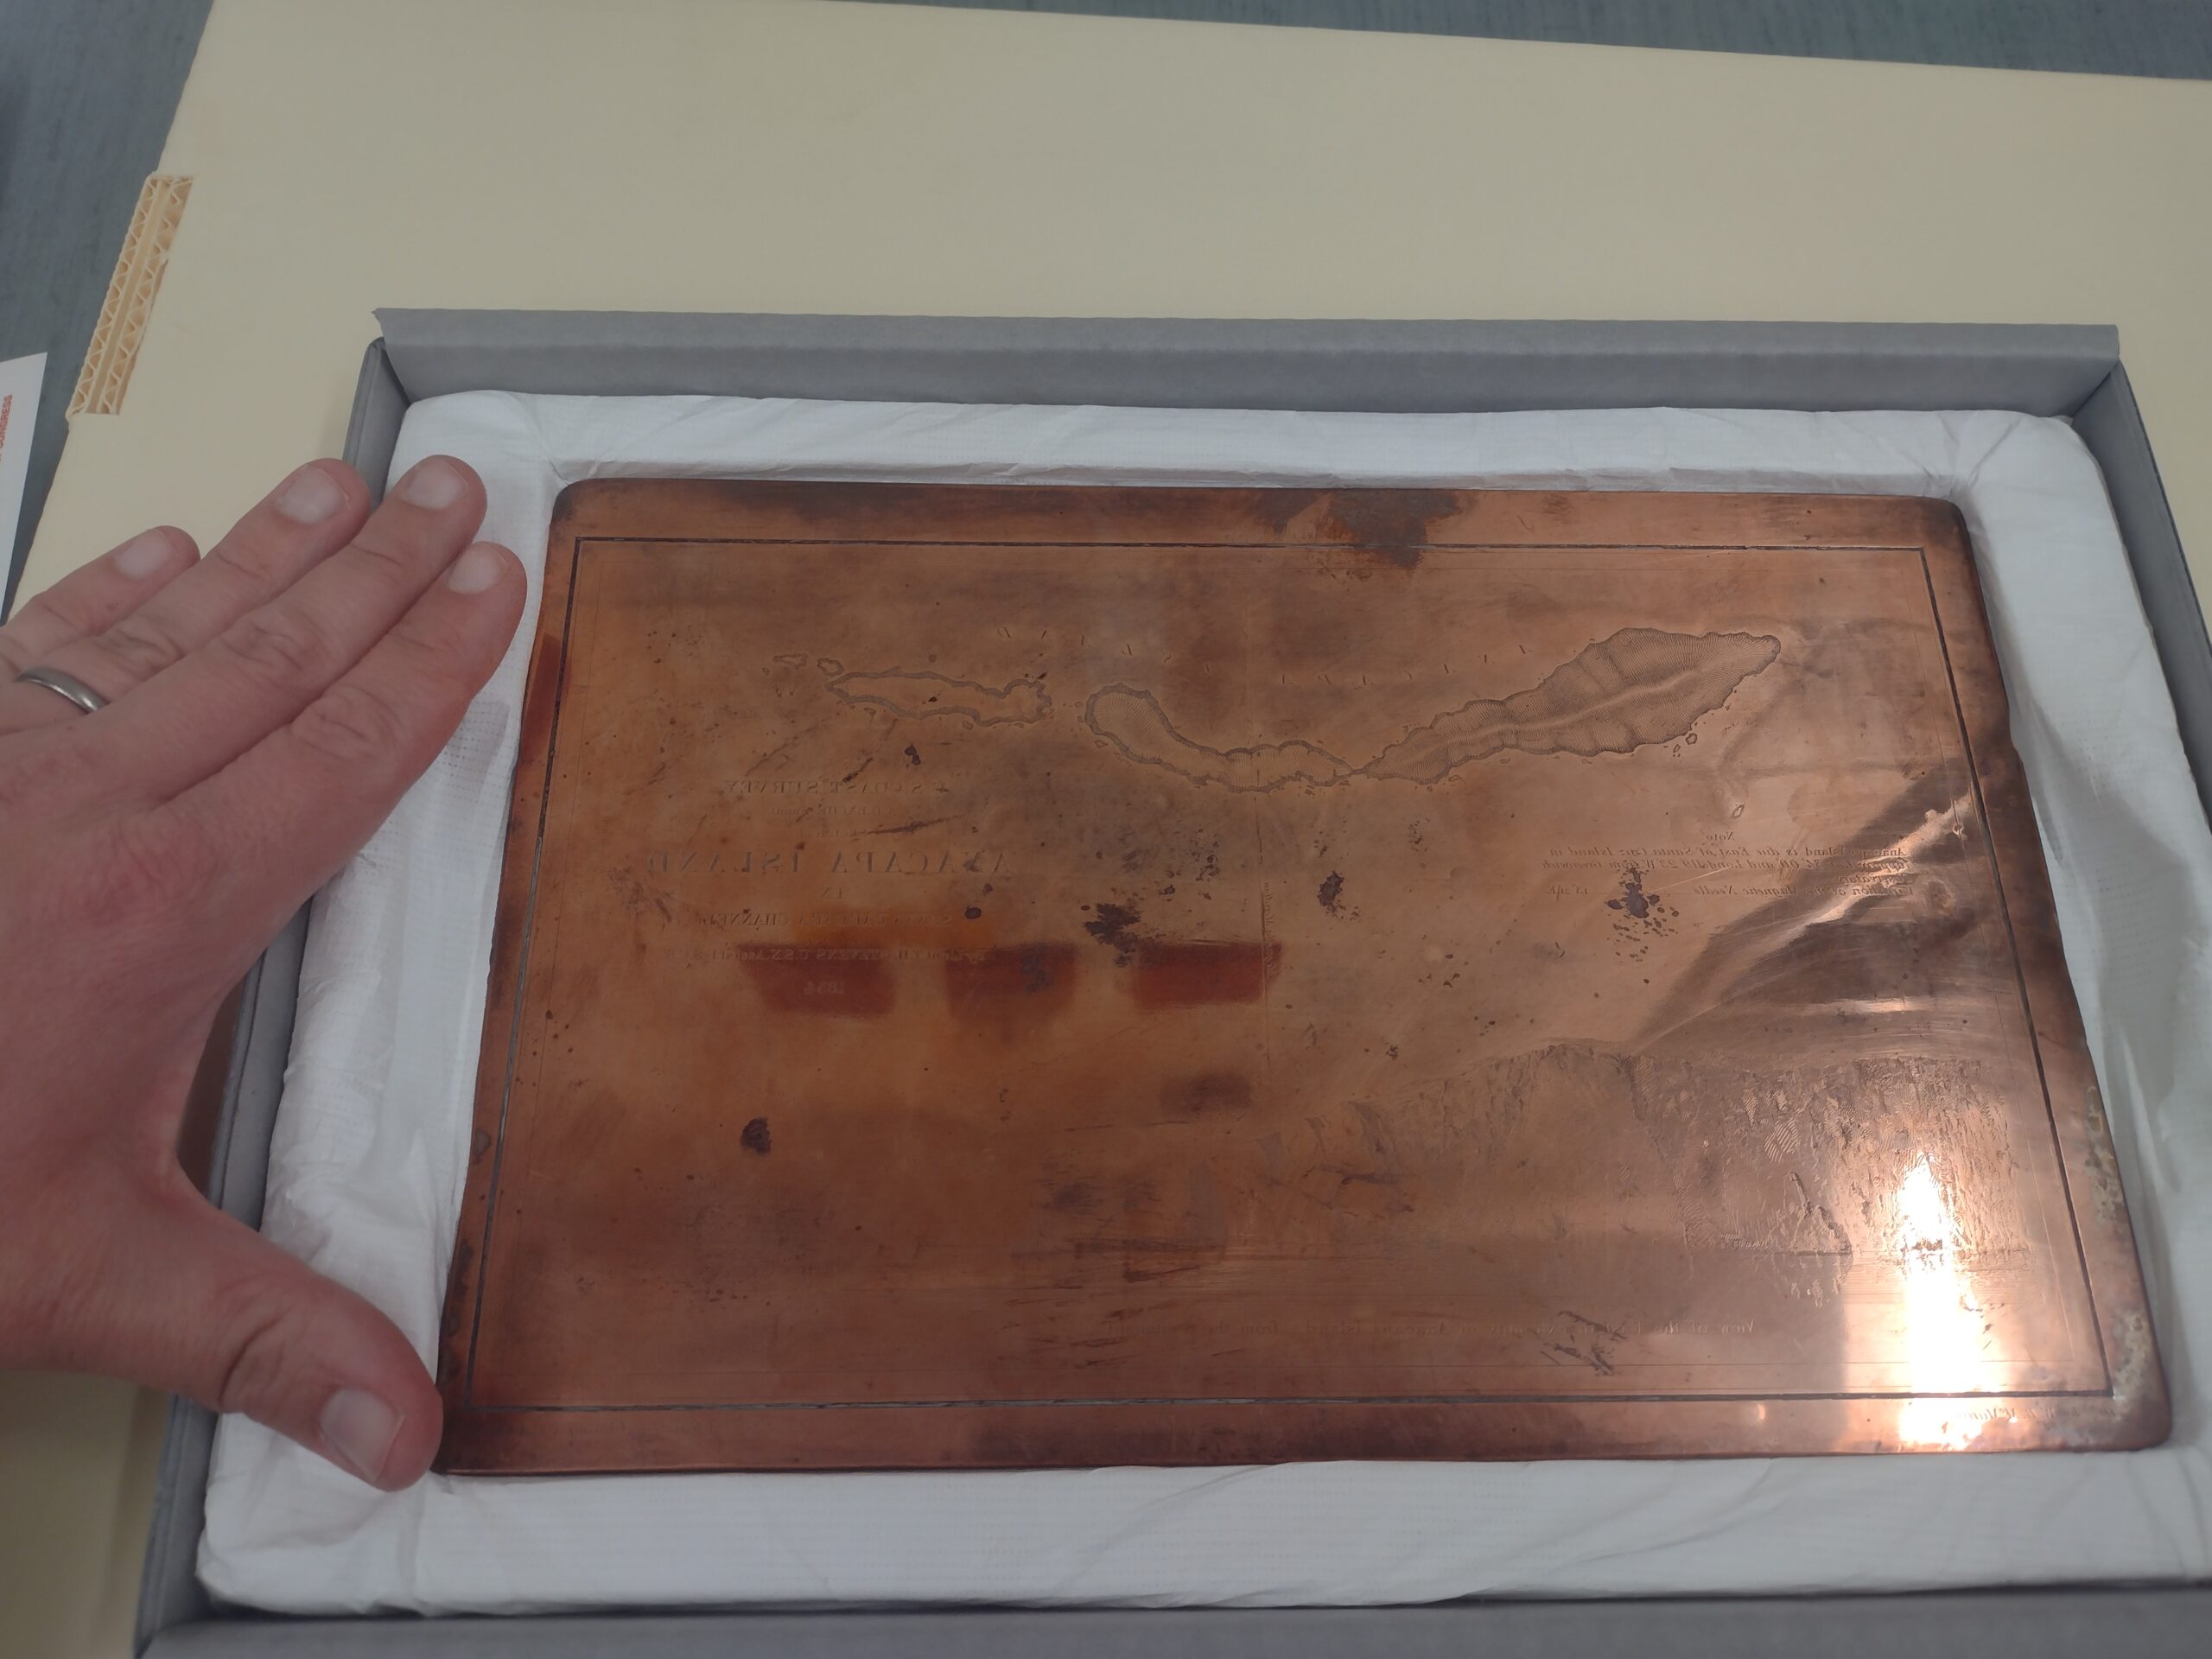
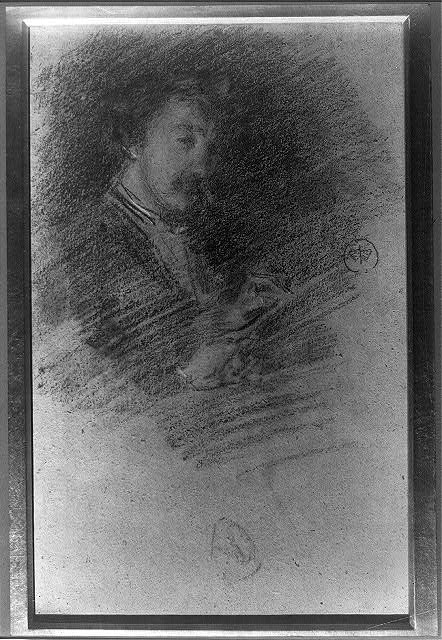
J. A. Whistler is none other than American painter James Abbott McNeill Whistler, who painted the famous Arrangement in Grey and Black No. 1, generally known as Whistler’s Mother.
Learn more:
The Geography and Map Reading Room Reference Collection contains many books about the history of maps and map printing; a few are listed here:
- Five centuries of map printing, 1975, by David Woodward
- The History of cartography series, 1987-, edited by J.B. Harley and David Woodward
The Rare Book and Special Collections Division has several research guides related to the history of printing, including these: